
If there is anything I’ve learned over the past couple of years of owning my own business, it’s this: an organized office space enables an organized mind. There have been several occasions where I cannot focus on my tasks when my office and desk are in disarray. A messy office is distracting, psychologically adds stress and ultimately affects your work. I recently moved into a new studio in downtown Boston and the new space has been a great way to get rid of items I don’t need and start with a fresh space.
We want to be set up for success at work and the first way to do that is to gain control of the space where we conduct work. Here are 5 steps to an organized office:
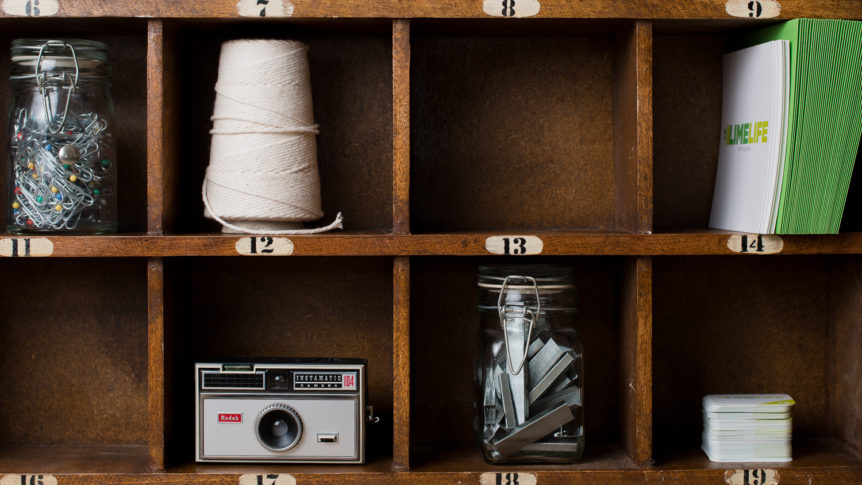
Step 1: Purge.
This step is crucial because an unorganized office normally holds a lot of unnecessary clutter. Begin with going through every drawer, box, shelf, etc. in your office. Recycle or throw away anything that you do not need. Scan in any old paperwork that you don’t need on hand and save it in different folders, get rid of the 10,000+ paperclips if you don’t even use them, and take out any knick knacks or decor that does not make you happy or inspired. If you are in a business that requires a lot of paperwork and do not want to spend hours scanning, I would recommend filing them into labeled bins (like this one) and store them.
Step 2: Implement a cleanup system.
Work out a system for a quick two-minute cleanup at the end of the day. This means, finding the right storage that works for your business and the way you work. If you tend to have a lot of items on your desk during the day, maybe it would be a good idea to keep an empty drawer near your desk so you can quickly place everything in there at the end of the day. Out of sight, out of mind! No one likes to see a messy desk when they get to work in the morning.
Step 3: Add a pin board to your space.
Being able to pin up random inspiration, ideas, to-do lists, etc. is a great way to keep your mind flowing with ideas and not have a million sticky notes floating around your office. Another idea is to hang up folders (like these) where you can place any important documents or things that need to be mailed, etc. It’s all about finding a place for things instead of letting them sit on your desk.
Step 4: Group items.
Items look better displayed in groups. For instance, I have about 100 design-related magazines that I still utilize for design project inspiration. I use these magazine files and display them sitting next to one another on a shelf. Perhaps you are an artist and have a lot of paint brushes and colored pencils. I would find all the same colored cups to keep them contained but also easily accessible. Or maybe you are a photographer with several lenses and other accessories. It would be awesome to install three shelves on the wall and display them like decor pieces.
Step 5: Contain the cords.
There are a lot of new cable management accessories out there now (like this one and this one) that will keep everything uniform and out of sight. Plus, it’s so much easier to charge your devices when the cords are always in their place. Speaking of, for any extra cords you may have, tie them up with a twist tie and a label for what the cord goes to.
For inspiration, go check out your local Container Store (or shop online). They always have brilliant organizing ideas and the tools you need to create a well-organized space.
Cheers to an organized office!

Comments 4
Pingback: Sunday Morning Coffee 01.18 - Ember & March
My cord situation is ridiculous right now. In fact, it’s so bad that I’m attaching a picture to my comment so you can see. Usually I keep my desk and office pretty organized, but when I’m in the middle of a project, my scanner comes out, the Wacom comes out, there’s paper and markers everywhere, and then I find myself working around it. I’ve considered getting a drawer system or finding a more permanent place for my scanner… but I’m not sure how to deal with this quite yet! PS sorry the photo uploaded upside down… bah.
This is a totally realistic photo of what our desks look like, too, sometimes! This is why I LOVE Jessica’s No. 2 tip about a cleanup system! I’m actually browsing the Container Store tonight for some wall solutions. Let me know what you decide on!
Wall solutions? Do share!